
How to Cut Butternut Squash Safely (Without It Rolling)
The safest way to cut a butternut squash is to give it flat, stable sides before you make any big cuts. Trim both ends, separate the long neck from the round bulb, peel each piece, then halve them and set the cut side down so nothing can roll. A sharp chef knife does the rest with steady pressure instead of force.
Butternut squash is one of the densest vegetables most home cooks handle all fall. Its round shape and hard flesh are why it slips, wedges, and makes people nervous. This guide walks through each cut in order and explains why each step keeps your hands safe.
What You Need Before You Start
- A sharp chef knife about 8 inches long. A longer blade reaches through the thick neck in one pass.
- A large cutting board that does not slide. Set a damp towel underneath if it moves. Our guide on keeping a cutting board from slipping covers a few easy fixes.
- A Y-shaped vegetable peeler. It handles the curves of the squash better than a knife.
- A sturdy metal spoon for scooping the seeds.
Step 1: Trim Both Ends
Lay the squash on its side. Hold it near the middle with your guide hand and slice about half an inch off the stem end, then the same off the bottom of the bulb. Now the squash has two flat ends, and you can stand it up for the next steps.
Step 2: Separate the Neck From the Bulb
Find the spot where the narrow neck starts to widen into the round bulb. Cut straight across there. You now have two easier pieces. The neck is solid flesh, and the bulb holds the seeds.
If the knife stops partway through, do not rock it hard or pull it out at an angle. Keep the blade straight, press down evenly with your palm flat on the spine near the handle, and let it work through.
Step 3: Peel Each Piece
Stand the neck on its flat end and peel from top to bottom with long strokes, turning the piece as you go. Do the same with the bulb. Peel until you see bright orange flesh and no pale green streaks, since that layer stays tough after cooking.
Step 4: Halve and Lay Flat
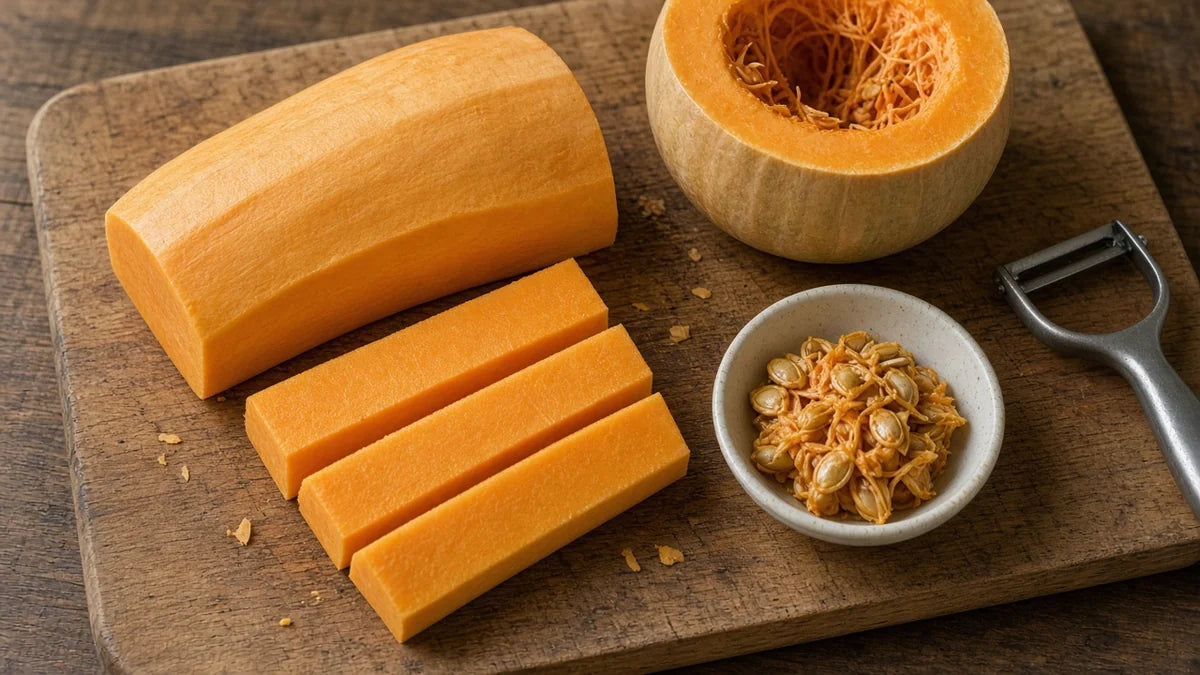
Stand the neck on end and cut it in half lengthwise. Then cut the bulb in half from top to bottom and scoop out the seeds and stringy pulp with your spoon. Turn every piece cut side down. This is the single most important safety step, because a piece that sits flat cannot roll under the blade.
Step 5: Cut Planks, Then Cubes
With the flat side down, slice the neck into planks about as thick as you want your cubes. Lay a few planks flat, cut them into sticks, then cut across the sticks to make cubes. Curl the fingertips of your guide hand under, as in the claw method, so your knuckles guide the blade and your fingertips stay clear.
The curved bulb halves will not give neat planks. Cut them into wedges, then into chunks that roughly match the size of your cubes.
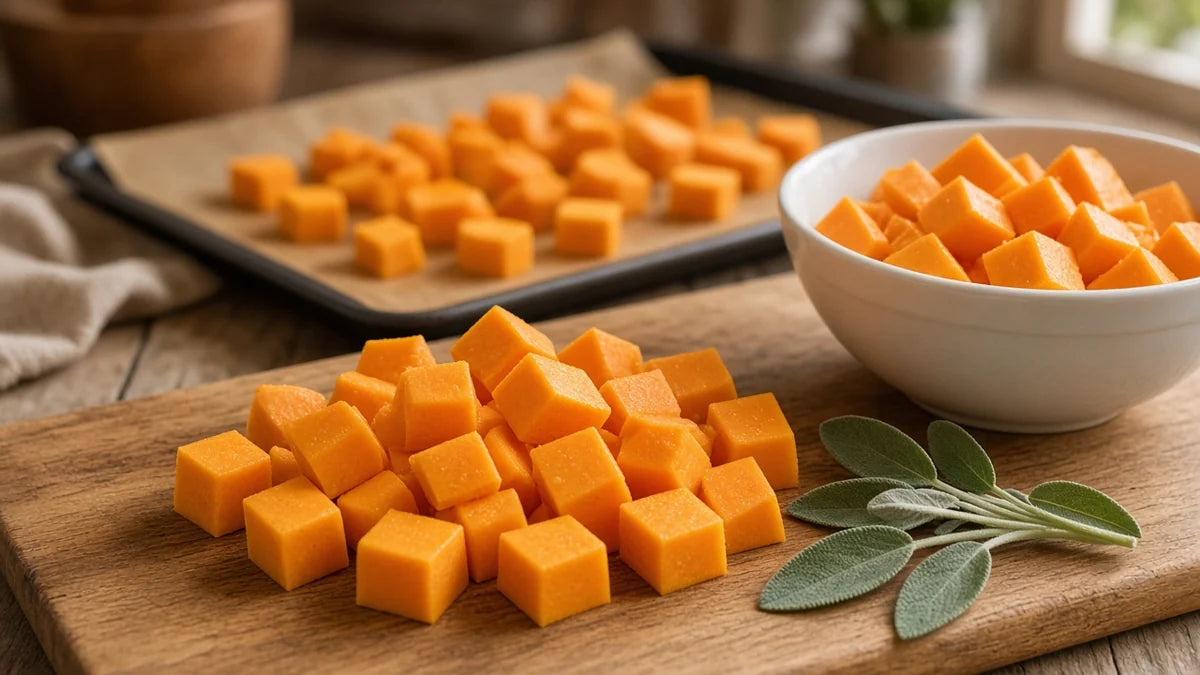
Keeping the pieces the same size matters more than the exact size. Here is why uniform cuts cook more evenly.
Common Mistakes That Make Squash Dangerous
- Cutting a whole round squash in one go. It rolls and the blade can jump. Always create a flat side first.
- Pushing harder with a dull knife. Extra force is what sends a blade sliding off hard skin. If the knife skates instead of biting, it is time to sharpen.
- Holding the squash with flat fingers. Use a firm grip near the top of the piece and keep your fingertips curled.
- Using a small knife. A short blade has to be pried through the thick neck, which is exactly when slips happen.
Why a Sharp Edge Matters So Much Here
Dense squash shows the difference between a sharp edge and a tired one right away. A sharp knife starts the cut cleanly, travels straight, and needs only steady downward pressure. A dull one crushes and wedges, so you push harder and lose control. If your knife tears the skin or stalls halfway through the neck, check these signs your knife needs sharpening.
When it does, the HoneyHone rolling knife sharpening kit makes it simple at home. The magnetic angle guide holds your chef knife at a steady 15° or 18°, and you roll through the diamond grits from #240 up to #1000, then finish on the #5000 pad and leather strop. Your knife goes from rough to super smooth and is ready for squash season.
Quick Recap
- Trim both ends.
- Cut the neck from the bulb.
- Peel each piece until only orange flesh shows.
- Halve, scoop the seeds, and lay every piece flat side down.
- Cut planks, then sticks, then even cubes with your fingertips curled.
Take it one flat surface at a time and a butternut squash goes from scary to routine. Keep your knife sharp and the whole job gets faster and safer.